Here are two "before" pictures. I actually never took a picture of the disaster (not something I wanted to immortalize), but you can see it in the background.


Just more "things" to add to the growing mess!
STEP 1: NEW CARPETING
You can imagine after the previous owners' 10 years and 3 kids, that is was pretty nasty. We chose a neutral beige Berber carpet - slightly darker in the middle seam than what was there before. For high traffic areas, you can't beat Berber!
STEP 2: THE OVERALL PLAN
I knew I wanted cubbies/baskets for toys, cabinets to hide away games, paper, markers, etc. and two desks (one for each kid). I also knew I had a limited budget. I saw some great custom built-ins on Pinterest that inspired the overall look of the playroom.
desk and chairs
storage
cabinets
storage/cabinets
Here is the first rough drawing. Notice how this started way back in April! The end pieces on either side of the cabinets are desks.

STEP 3: THE MATERIALS NEEDED
Having someone build it was just too cost prohibitive, so I needed to come up with a way to build it myself by using pre-made cabinets. Originally, I thought we could build the bottom cubbies ourselves, but later revised this plan after seeing this Pinterest post. LOVED what they did to their playroom/media room and armed with some of her information, the rest of the playroom came together. As a side note - I already had this Ikea light fixture in my playroom for months before I saw her post. Just a happy coincidence.
After scouring Ikea online for hours and doing a ton of calculations, I decided to construct the bottom cubbies from two Ikea Expedit Shelves placed on their sides and stacked on top of each other.

Blank wall (this is directly across from the pocket doors)


2 Expedit shelves stacked
At first I thought about cutting the baseboard off from behind the shelves and placing in front of the unit for a true built in look, but then I snapped out of the fantasy world where I'm an expert carpenter with precision saws, and I came back to reality. It's a playroom/homework room. In a few years when the kids are grownup, it may be something completely different and I don't want to have to replace a huge baseboard.
Ok back to the plan....
Because the depth of the cubbies is 15-7/8", I chose these Ikea kitchen cabinets (at just a slightly less depth) to sit above them. Based on the height of my wall and the length of the Expedit shelves, I chose the 36 (wide) x 30 (high) cabinets. I planned to use 4 cabinets - two on the first level and two above that.
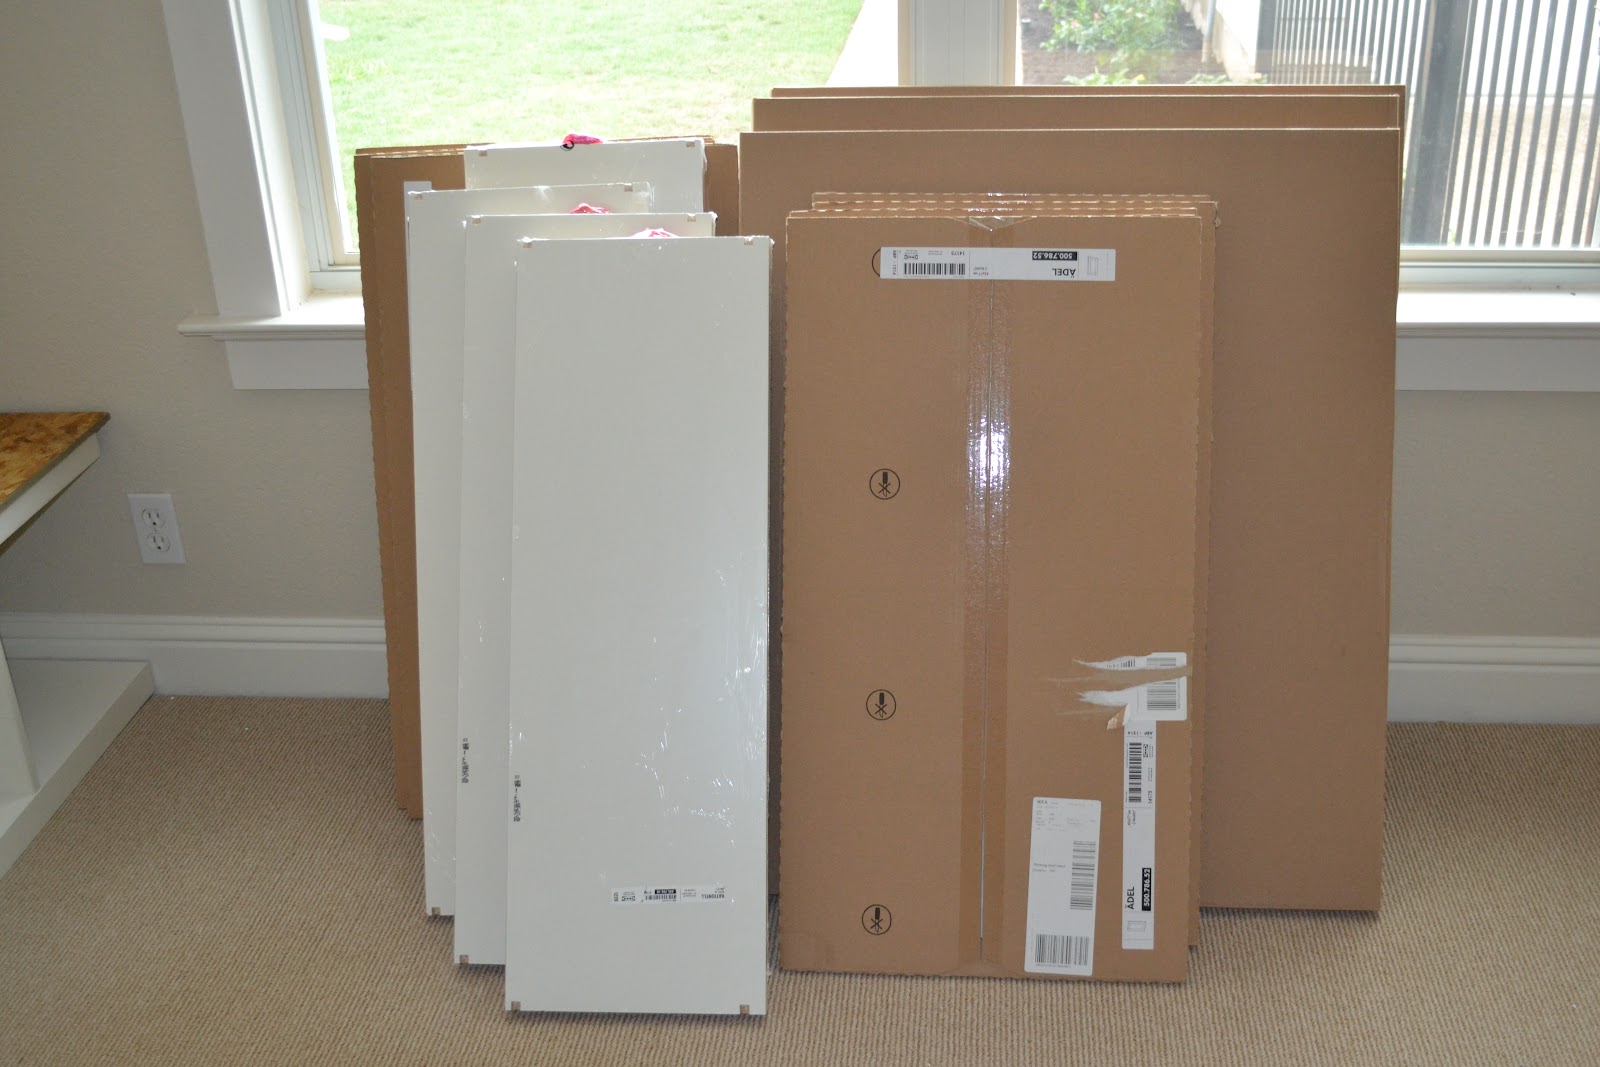
Boxes and boxes of shelving parts

Constructing the cabinets

Placing the cabinets on the wall

Cabinets complete with doors
Couldn't be happier with the look and the height in the room made it feel instantly bigger. Now on to the tough part, the desks....
Other Playroom Posts
No comments:
Post a Comment