I've been dreaming of a lovely window seat where my kids could curl up and read a good book. Unfortunately, where our window is placed, the height of the window from the floor and the design of the playroom, we couldn't build seating right below the window. So, we opted for a bench in the corner near the window.

Here is the corner where the bench will be placed.
Once again, we went for the handy Ikea singe Expedit shelving unit (yes, I did buy 4 of these for the entire playroom), placed on it's side. This idea came directly from this blog. I knew from measuring the wall that my shelving unit at 6 feet was going to be too long, so when I built it I left off the end piece hoping that would solve the problem. Nope.

You can see here where the shelf still overlaps the trim around the door frame (the piece on top is from the desk that was being built at the same time - see previous entry)

Detail of end cap being left off the construction.
As you can see, we also have large baseboards to contend with. We knew that we needed to trim off the ends, but the top piece needed to be longer than the bottom piece due to the baseboard.

Perfect fit!


Cut to fit the wall and baseboard. There are some tiny gaps due to the bowing of the wall and the fact that cutting these boards is difficult because they are honeycombed and not real wood. But the top will be covered with fabric and the bottom with books.
On to the cushion....
Supplies Needed:
- 2-3 yards of fabric
- 6' foam
- 6'x3' batting
- staple gun
- adhesive spray
- 6' (approximately) plywood
I went to Lowes to purchase a sheet of plywood thinking it would be under $10. The cheapest option was over $20 which seemed ridiculous to me. After some research, I discovered another material called , OSB (oriented strand board). It's very similar to plywood, but cheaper ($6 for a huge piece). Mostly because it's not as "pretty" as plywood, but when you are covering the whole thing up with fabric, who cares. Lowes, will cut it to your measurements and you'll have some huge left-over pieces for other projects.
OSB in hand, I was ready to construct - the easy and fun part. First, I cut the foam to the exact measurements of my OSB.

I sprayed the OSB with adhesive spray (left over from stencil project) and placed the cut foam on top. Let it dry for a minute to stick. I then wrapped the entire piece (OSB and foam) in batting and stapled it to the underside of the plywood. The batting helps pad the bench and softens the blunt edges/corners of the OSB when you sit on it.

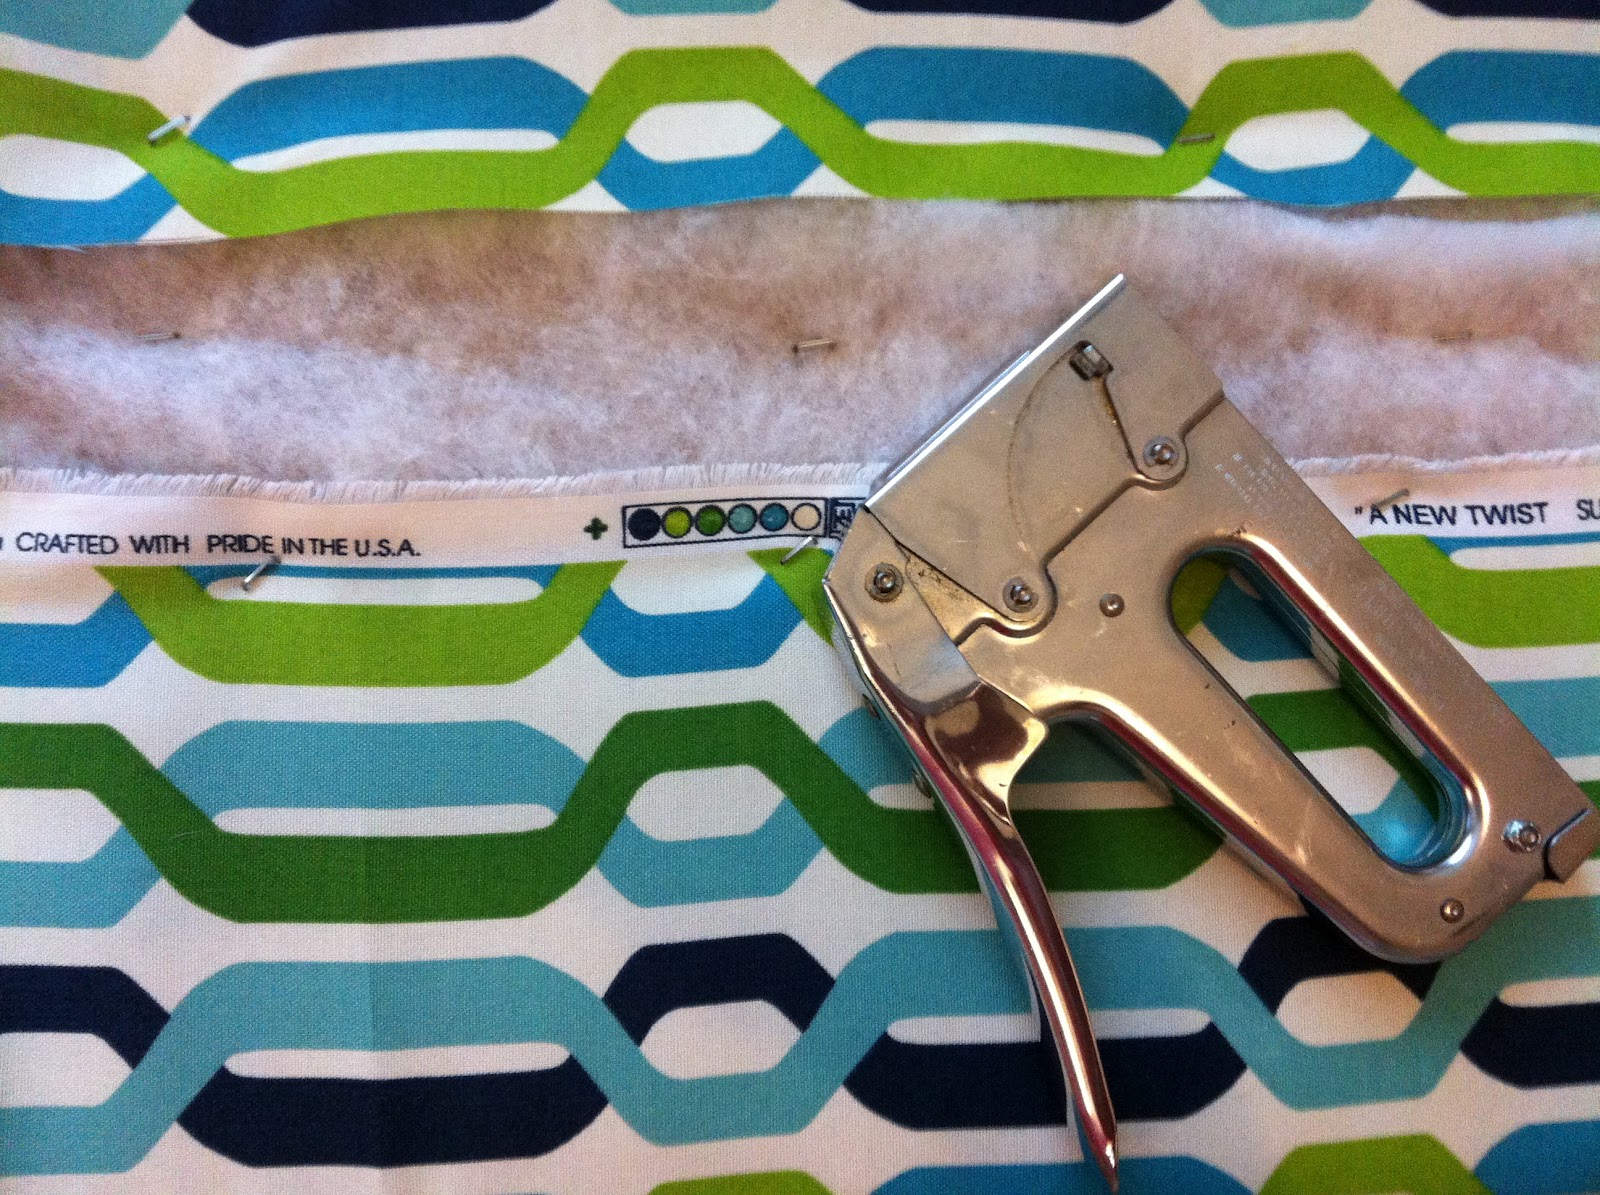
I laid my fabric out on the floor (wrong side up) and placed the wrapped board on top. Because I had a fabric with straight lines, it was easy to get it even. Plus, I'd built decorative window cornices and reupholstered chairs in the past so I knew how to even the fabric. Once positioned, it's important to staple like you would a canvas. Start in the middle and place one staple, then gently pull the fabric on the other side directly across from the first staple a place another staple. Then move to one end, gently pull the fabric and staple, move to opposite end and staple. Work around the board stapling opposite corners until everything is tacked down. This way, the fabric is gently stretched evenly. If you just started at one side and worked your way around, you could end up pulling the fabric to one side and it'll look uneven. The corners can be tricky, but work with it until you get a nice even look.

Once done, I used double sided adhesive velcro to secure the fabric top to the bench, so it wouldn't move when someone sat on it.


I absolutely LOVE it! The colors are amazing and it's so comfortable. It'll look even better when I fill it with the kids' books and add a pillow!
Other Playroom Posts
No comments:
Post a Comment