Saturday, August 11, 2012

Playroom Window Treatment

I love me some long curtains, but I knew they weren't practical for a playroom built for a 3 and 5 year old.  I wanted to be able to lock them in,  I mean close the doors and not worry about what they were getting into.  Think, twirling and pulling until they've ripped them from the walls.  The window in that room is huge and gets direct morning sun (Texas sun - which means hot).  As mentioned previously, we have beautiful windows that are decoratively wood cased.  They don't really NEED window treatments, but I love fabric and curtains are like eyebrows - you look better with them.  Trust me, you do.  Did I mention the hot Texas sun? Plus, I really dislike blinds (especially around kids) and when I take them down the windows are just plain and at night look like dark blank eyes.  Melodramatic? Maybe. But I'm a window treatment person - I blame it on my mom.

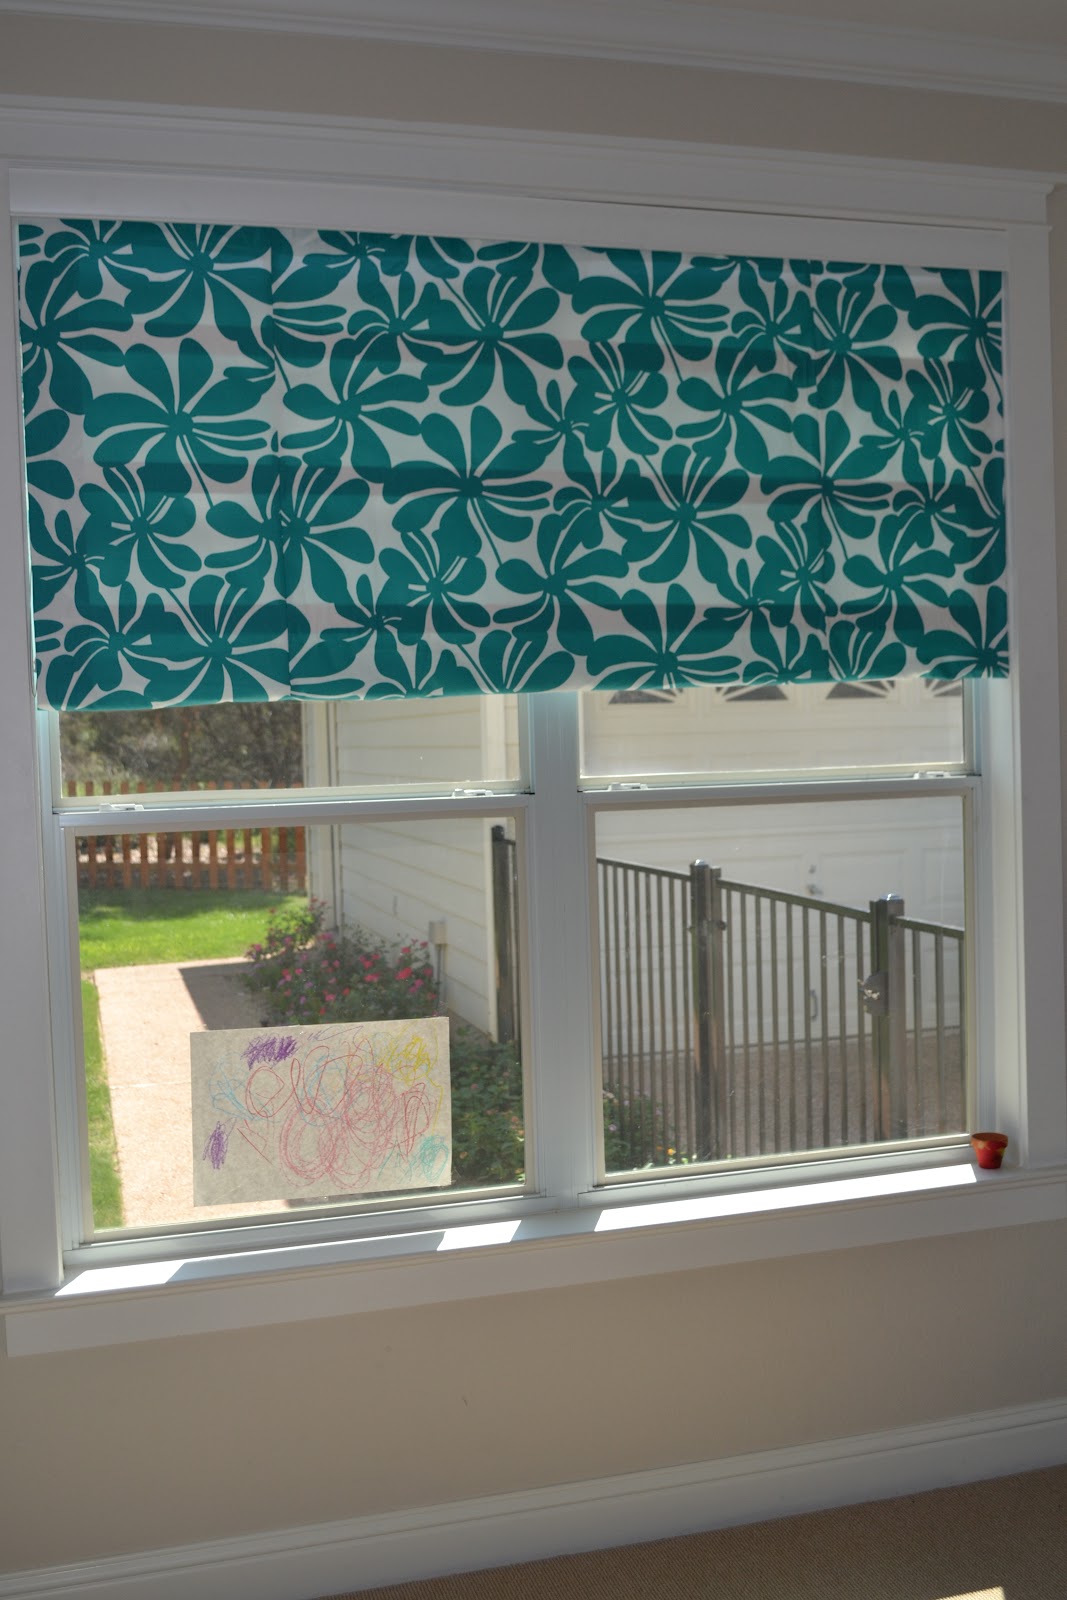
Ok, so I've got huge windows and blinds in that room that I don't like.  Don't want curtains, so ROMAN SHADE it is!  I don't want to pay to have custom roman shades done, so what's a girl to do, but check out Pinterest for ideas and I found this fabulous "No Sew Roman Shades" post.  It's a great tutorial for making the shades, so following the directions, I went to work....

First, my window is 70" across - like I said, HUGE!  Most fabric is only 54" across, so I needed to sew some pieces together to make 70".  As noted in my previous post regarding the color scheme, here's my window fabric Twirly: True Turquoise


I'm an ok sewer, but I've never sewn together fabric to make it look like one big panel.  So off to google, I went.  Google, how I love you.  I found this great No Sew Roman Shade Slide Presentation that goes through all the math and measurements involved to figure out how much fabric you'll need based on your windows, and how to sew together multiple pieces of fabric if your window is larger than 54".  Basically, this is how you do it:


One larger panel in the middle and two smaller (equal size) pieces on either side.  But here's the trick, if you have a fabric with a pattern (which I do) you need to match up the pattern repeat and calculate that in when determining how much fabric you need.  That done I set out to measure and cut the fabric panels.  Once finished, I went to pin my fabric together to sew.  And here's where experience comes into play.  I had matched up the repeats, but did not take into account that I needed to leave 1/2 inch on each panel to account for the seam.  So, my fabric didn't match up anyway. Grrrrr.  Good news, the Twirly fabric is forgiving and no one notices the discrepancy.  

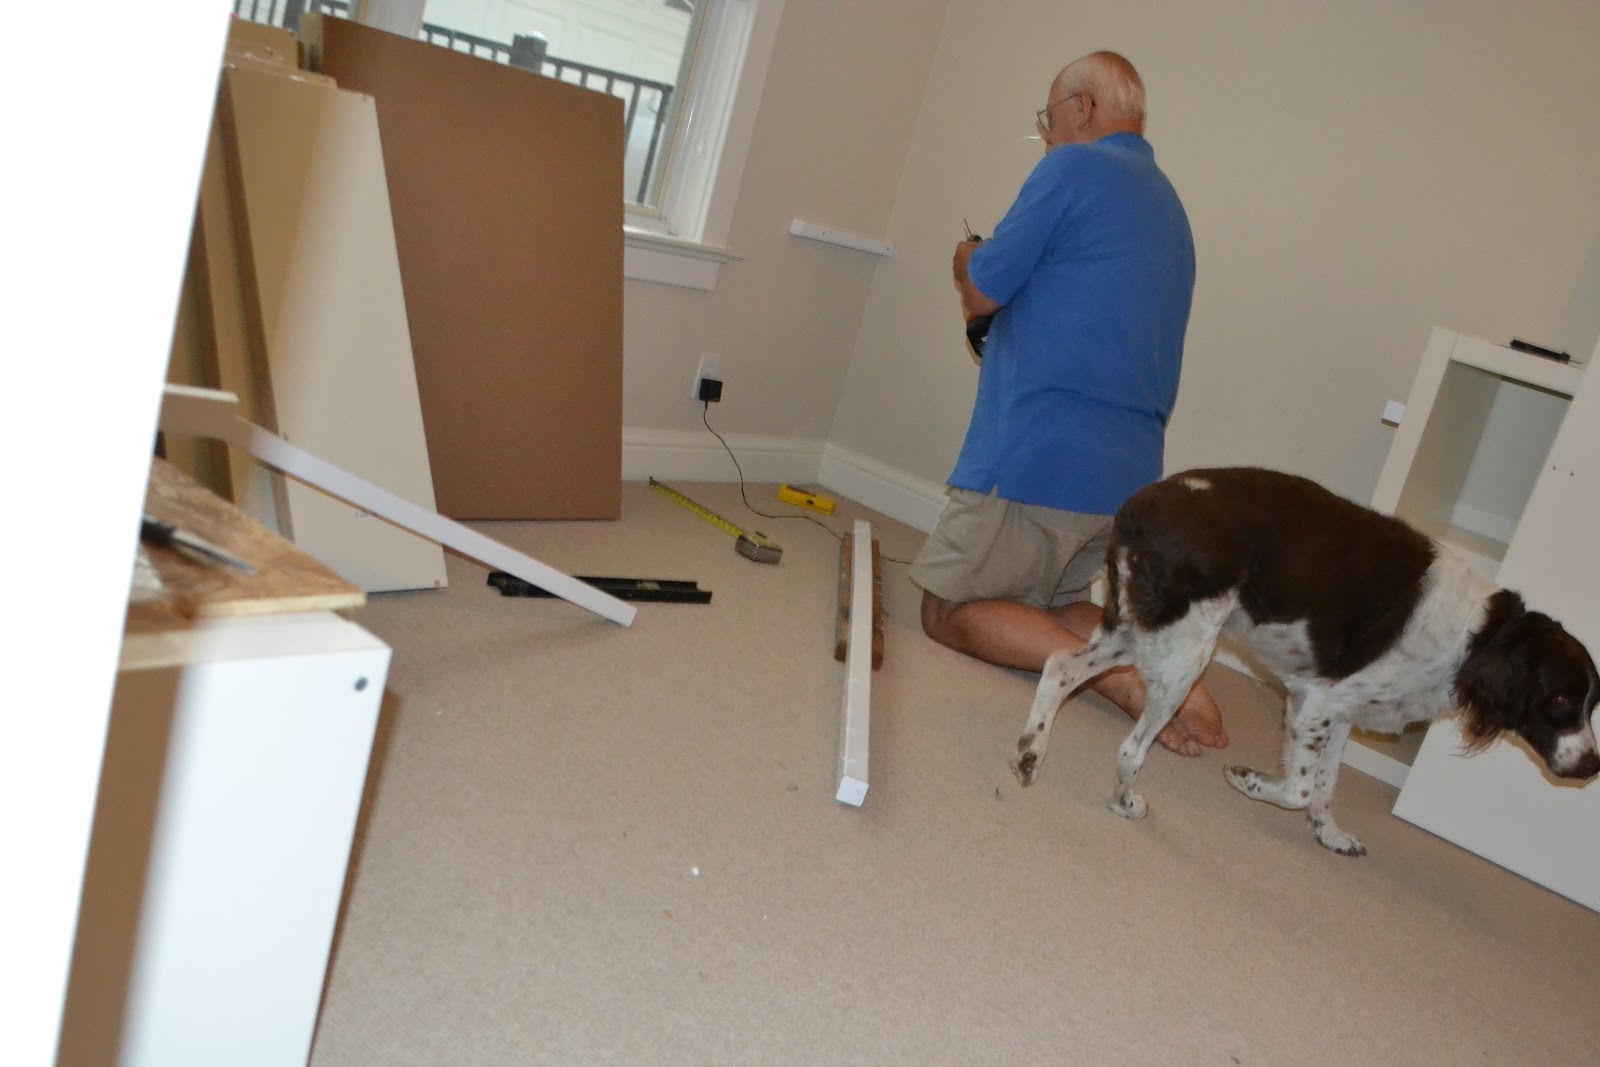
Now onto the blinds.  I took mine down per the instructions and found the ladder vs. pull cords.  
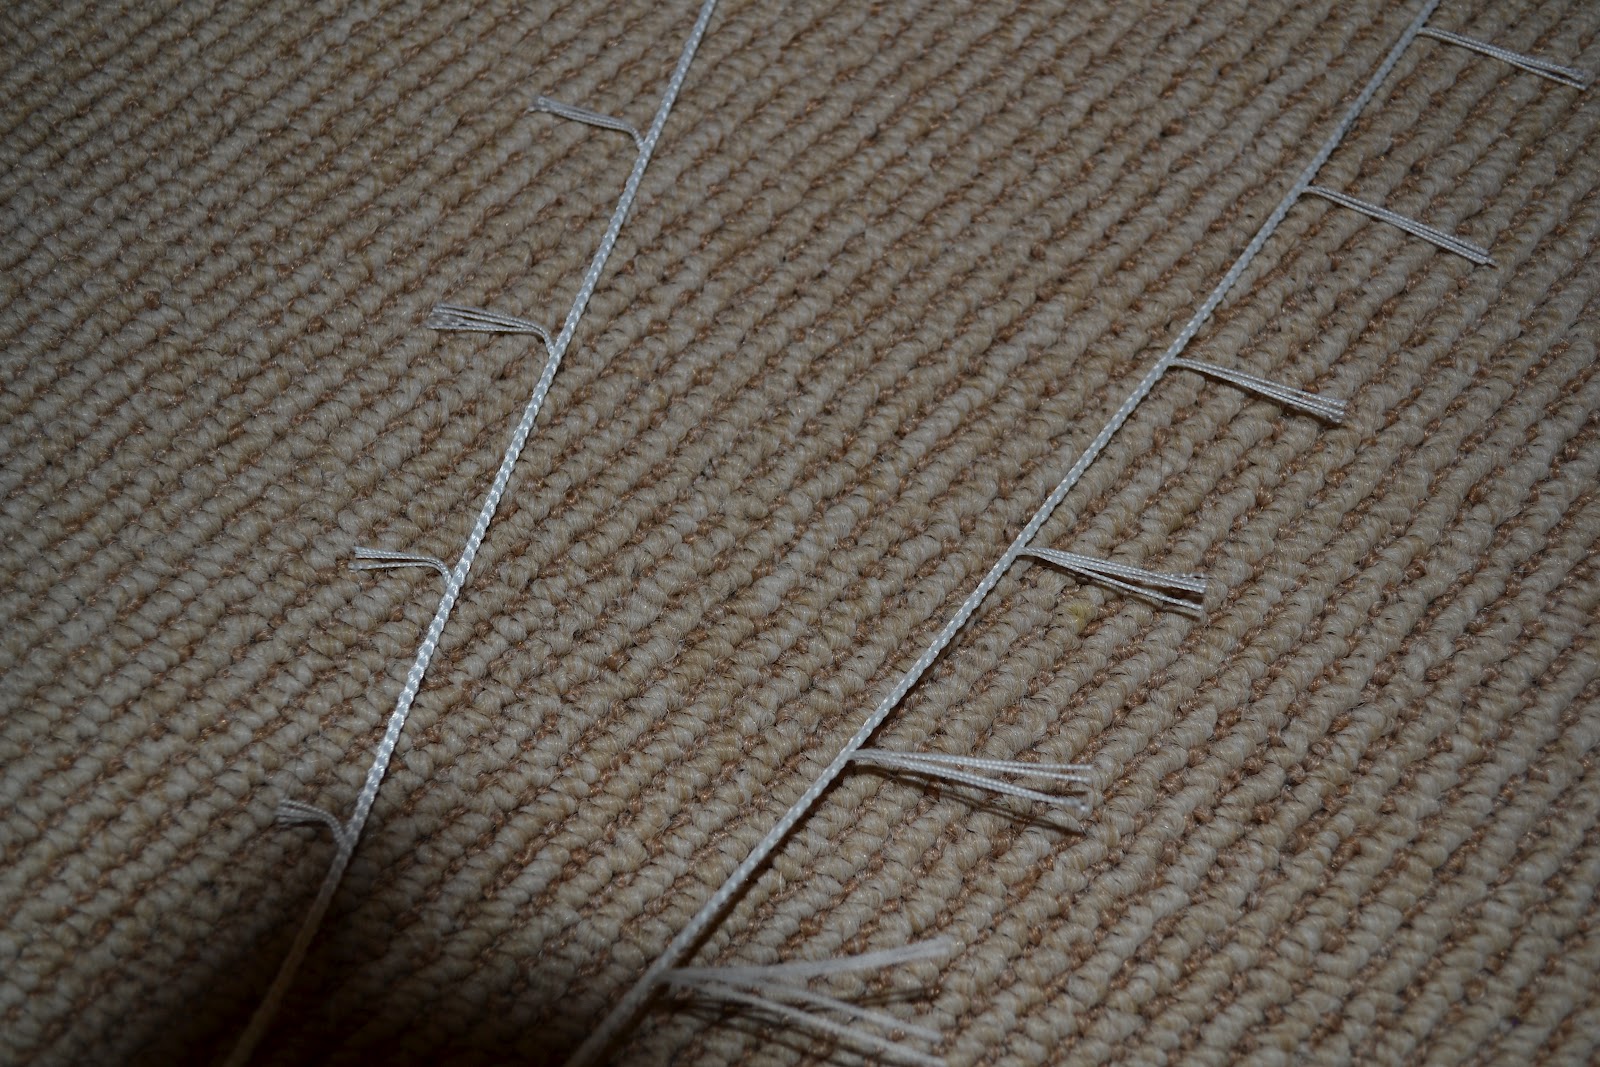
 Ladder cord

 Pull Cord

Ladder cords waiting to be snipped off


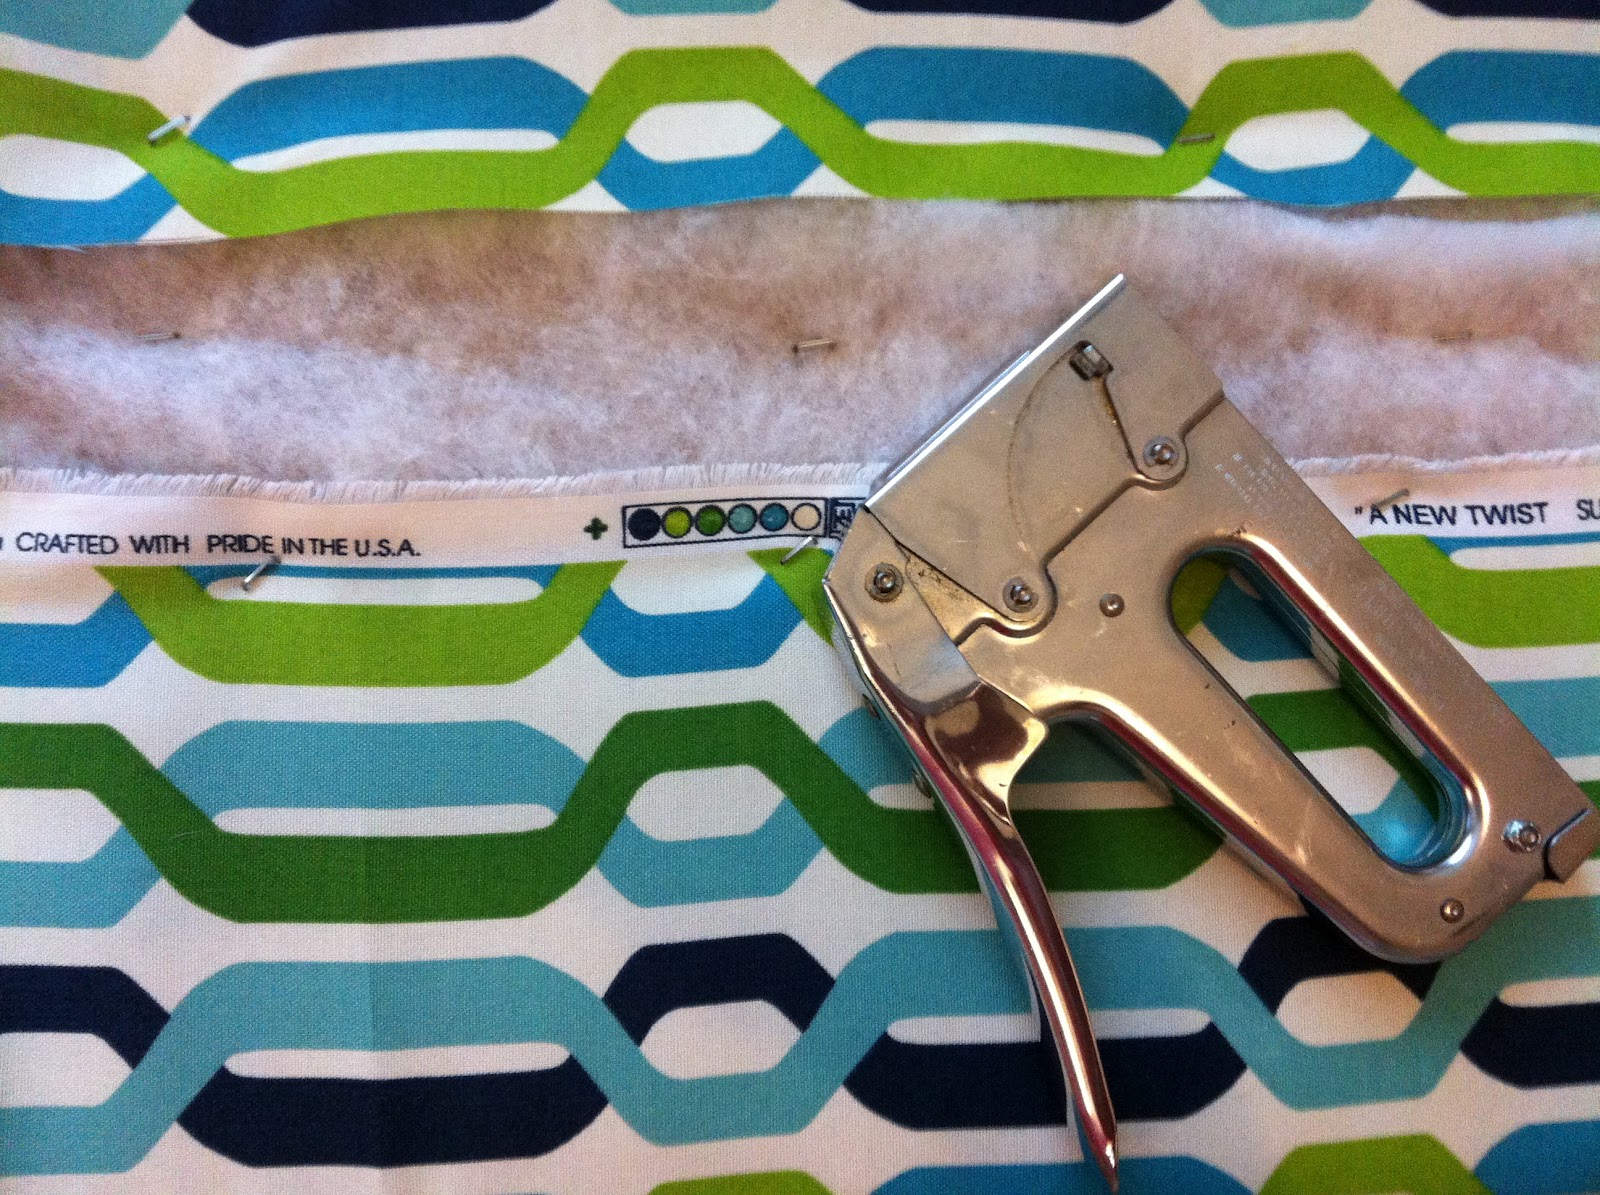
I had my fabric face down, the seams glued and the top bar glued to the fabric.  I didn't need to roll it over the top of the bar because my window comes with an extra wood panel that is velcro-ed to the top bar and would cover where the fabric was glued on.  I laid out my slats every 7 inches until I reached the bottom.


Placed the bottom bar back on with the pull strings attached and here's where I noticed my second issue. My blinds aren't the cheap metal ones where the pull cord runs through each slat.  Mine are wood and each slat lays within the ladder cord like a cradle.  So, when I hung the blinds and went to pull them up, only the bottom bar lifted up to the under side all the way up to the top of the window, instead of the whole thing lifting like an accordion.


It doesn't bother me at all and from the outside you just see fabric instead of slats.  I'm in love with this shade and the effect on the playroom!   But learn from my mistake!  What I should have done was remove the slats I didn't need (as they slip right out of the ladder cord cradle), shorten the blinds WITH the ladder cords intact and then glue the slats to the fabric every 7".  Oh well, live and learn!


Other Playroom Posts


Window Seat


I've been dreaming of a lovely window seat where my kids could curl up and read a good book.  Unfortunately, where our window is placed, the height of the window from the floor and the design of the playroom, we couldn't build seating right below the window.  So, we opted for a bench in the corner near the window.

Here is the corner where the bench will be placed.

Once again, we went for the handy Ikea singe Expedit shelving unit (yes, I did buy 4 of these for the entire playroom), placed on it's side.  This idea came directly from this blog.  I knew from measuring the wall that my shelving unit at 6 feet was going to be too long, so when I built it I left off the end piece hoping that would solve the problem. Nope.

 You can see here where the shelf still overlaps the trim around the door frame (the piece on top is from the desk that was being built at the same time - see previous entry)

Detail of end cap being left off the construction.  

As you can see, we also have large baseboards to contend with.  We knew that we needed to trim off the ends, but the top piece needed to be longer than the bottom piece due to the baseboard.

 Perfect fit!


Cut to fit the wall and baseboard. There are some tiny gaps due to the bowing of the wall and the fact that cutting these boards is difficult because they are honeycombed and not real wood.  But the top will be covered with fabric and the bottom with books.


On to the cushion.... 

Supplies Needed:
  • 2-3 yards of fabric
  • 6' foam
  • 6'x3' batting
  • staple gun
  • adhesive spray
  • 6' (approximately) plywood

I went to Lowes to purchase a sheet of plywood thinking it would be under $10.  The cheapest option was over $20 which seemed ridiculous to me.  After some research, I discovered another material called , OSB (oriented strand board).  It's very similar to plywood, but cheaper ($6 for a huge piece).  Mostly because it's not as "pretty" as plywood, but when you are covering the whole thing up with fabric, who cares.  Lowes, will cut it to your measurements and you'll have some huge left-over pieces for other projects.  

OSB in hand, I was ready to construct - the easy and fun part.  First, I cut the foam to the exact measurements of my OSB.  


I sprayed the OSB with adhesive spray (left over from stencil project) and placed the cut foam on top.  Let it dry for a minute to stick.  I then wrapped the entire piece (OSB and foam) in batting and stapled it to the underside of the plywood.  The batting helps pad the bench and softens the blunt edges/corners of the OSB when you sit on it.  


I laid my fabric out on the floor (wrong side up) and placed the wrapped board on top.  Because I had a fabric with straight lines, it was easy to get it even.  Plus, I'd built decorative window cornices and reupholstered chairs in the past so I knew how to even the fabric.  Once positioned, it's important to staple like you would a canvas.  Start in the middle and place one staple, then gently pull the fabric on the other side directly across from the first staple a place another staple.  Then move to one end, gently pull the fabric and staple, move to opposite end and staple.  Work around the board stapling opposite corners until everything is tacked down.  This way, the fabric is gently stretched evenly.  If you just started at one side and worked your way around, you could end up pulling the fabric to one side and it'll look uneven.  The corners can be tricky, but work with it until you get a nice even look.  


Once done, I used double sided adhesive velcro to secure the fabric top to the bench, so it wouldn't move when someone sat on it. 


I absolutely LOVE it! The colors are amazing and it's so comfortable.  It'll look even better when I fill it with the kids' books and add a pillow!

Other Playroom Posts

Friday, August 10, 2012

Stencil, oh stencil

I loved the idea of stenciling an entire wall when I saw this Pinterest post.  I raced to the website and found the perfect stencil from Cutting Edge Stencils


Allover-stencil-pattrn.jpg


It's very similar to my "Twist In Time" fabric for the window bench (see Playroom Color Scheme).

I decided to go with the lime green stripe in the fabric and armed with my bright paint, I excitedly went to work on what seemed a simple and easy project.

Note to self:

  1. Don't ever start a project at 10pm after having a glass of wine
  2. Textured walls and stenciling do not go hand in hand
  3. Corners are not easy regardless of what the directions say

I definitely recommend a heavy duty spray adhesive.  I used one meant for stenciling and it wasn't "tacky" enough to really stick well.  So I went with the Elmer's Craft Bond and it worked much better.  Unfortunately with textured walls, the paint would bleed under the dimples in the surface and it took 4 coats of paint.  That's right, FOUR.

You can see on my first row, I removed the stencil too early and the paint is yellow and blotchy.  I had to go back over it with 2 more coats of paint before it looked lime green
Close up of the blotchy paint and bleeding under the stencil

With 4 coats of paint, it basically took me one day for each row of painting as I moved across the wall.  


Didn't help that I also completely misjudged where I placed the top of the stencil and had to do double work at the ceiling.  Let me reiterate, never start a project at 10pm after drinking a glass of wine!

After the entire wall was painted, I went back with my base color and a small brush and touched up the sloppy areas.  I have to admit that this was my favorite part.  My OCD just loved finding little errors to correct.  I took great delight in this and was sad when I'd basically corrected the whole wall.  Sick and twisted, I know.  :) In the end, it looks fantastic and I absolutely love the pop of color it gives the room.


Other Playroom Posts

Playroom Color Scheme

As important as the design of the playroom were the colors and fabrics.  As I've said before, the playroom is right off the open kitchen/living/dining rooms.  The eventual colors in those rooms will be coral and pale aqua - along with the massive amounts of brown in the house (brown wood floors, brown cabinets, brown kitchen back splash, brown counters, brown kitchen tile, brown leather sofas and brown wood furniture/tables.

I wanted to have a sense of flow from those rooms to the playroom, so I played off the aqua and kicked it up a notch to turquoise.  Then I went on the hunt for a whimsical turquoise fabric for the roman shades I wanted to build.  That's when I found Twirly: True Turquoise


 If you google it, you can find many retailers selling this style and color.  I purchased mine from www.amazon.com who in turn buys it from www.fabric.com.  Be sure to get a sample from a retailer before purchasing and making sure you pick the right color.  I accidentally ordered the Twirly fabric in the wrong color as they offer it in two different shades of blue.  Luckily, Fabric.com took it back for a full refund (I had ordered 5 yards) and sent me a paid shipping invoice!  Love them!

So now onto the search for a complimentary fabric that had turquoise plus at least one other color I could play off of for the window bench.  I searched all the major fabric sites that come up in most searches, but nothing really popped for me.  Then I stumbled upon a Pinterest post about making "No Sew" Roman Shades that sourced a fabric store I'd never heard of www.tonicliving.com   And I found the perfect compliment: A New Twist: Aquamarine


It's modern, fun and has great shades of blue and green.  Plus it's an outdoor fabric so it'll stand up to This fabric also comes in another color, so if you order it make sure you get the correct color.

So this is how the colors for the playroom were born: Turquoise and Lime.


Other Playroom Posts

Building the Desks

The trickiest part of this whole playroom project were the two desks.  The dimensions of my new "built-in" meant I needed two 5-1/2' long x by 15-7/8" depth pieces of wood.  I considered going to the hardware store, buying wood, having them cut the wood down to the size I needed, sand it and paint it, but then inspiration hit.  I ended up buying another Expedit Single Shelving Unit and using only the two long pieces of "wood" included.  They are each 6' long, so we needed to cut them to the correct length, but the depth was a perfect match to the other shelves and cabinets already installed.  And here is where we ran into two problems:


  1. The long boards on the Expedit unit are not made of real wood or even partical board on the inside.  They are honeycombed.  This made sawing through them difficult
  2. Our walls weren't level.  They bowed in places, so getting a tight fit against the walls wasn't going to happen. 


Next up: Attaching the boards to the wall.  Here's where a big shout out to my dad comes in!  He helped with everything and came up with the plan for attaching the desks.  Here's a peek at my Lowe's shopping list


The plan of attack was to attach 2x2 wood walls and then screw the desk tops to the wood.  First up was cutting and painting the wood

Wood pieces painted and ready to install

My dad (and the dog) installing the 2x2s


We used a combination of "L" brackets and "T" brackets to attach the desk tops to the 2x2s.  We chose to do the sturdiest construction possible as I have a 3 year old dare-devil son and an acrobatic 5 year old girl.  We could picture them climbing up and jumping off the desks when we weren't looking, so we wanted to make sure they were very secure.  As you can see in the picture directly above, we also screwed a 2x2 to the Expedit shelving unit already in place to create one solid piece that wouldn't move.

Desk attached.  You can see here how due to the bowing of the wall, the desk doesn't fit flush against the wall.  I amy fill in later with caulk, but right now it doesn't bother me or the kids

We also drilled a hole in each desk for cords to run through


Desks complete.  Final pictures of the desks coming in the reveal!


Other Playroom Posts

Tuesday, August 7, 2012

Playroom Construction Begins

I absolutely LOVE the fact that our playroom is attached to the kitchen!  What makes it even more magnificent is the pocket doors that easily close when the room becomes a mess or if company comes over.  While it was a blessing that the room was just 4 bare walls when we moved in, it was also a curse.  I had all the kids toys in a few baskets, boxes and stacked against the walls, which made the perfect recipe for disaster.  Every day I would become frustrated and angry over the chaos in the playroom.  Toys everywhere, things stepped on and broken - it was more than my "OCD" could bear.  Consequently it was the first room to get a major overall (except for the Master bedroom, but I'll get to that later).

Here are two "before" pictures.  I actually never took a picture of the disaster (not something I wanted to immortalize), but you can see it in the background.


  Just more "things" to add to the growing mess!

STEP 1: NEW CARPETING
You can imagine after the previous owners' 10 years and 3 kids, that is was pretty nasty.  We chose a neutral beige Berber carpet - slightly darker in the middle seam than what was there before.  For high traffic areas, you can't beat Berber!

STEP 2: THE OVERALL PLAN
I knew I wanted cubbies/baskets for toys, cabinets to hide away games, paper, markers, etc. and two desks (one for each kid).  I also knew I had a limited budget.  I saw some great custom built-ins on Pinterest that inspired the overall look of the playroom.

desk and chairs
storage
cabinets
storage/cabinets

Here is the first rough drawing.  Notice how this started way back in April!  The end pieces on either side of the cabinets are desks.


STEP 3:  THE MATERIALS NEEDED
Having someone build it was just too cost prohibitive, so I needed to come up with a way to build it myself by using pre-made cabinets.  Originally, I thought we could build the bottom cubbies ourselves, but later revised this plan after seeing this Pinterest post.  LOVED what they did to their playroom/media room and armed with some of her information, the rest of the playroom came together. As a side note - I already had this Ikea light fixture in my playroom for months before I saw her post.  Just a happy coincidence.

After scouring Ikea online for hours and doing a ton of calculations, I decided to construct the bottom cubbies from two Ikea Expedit Shelves placed on their sides and stacked on top of each other.

 Blank wall (this is directly across from the pocket doors)

2 Expedit shelves stacked

At first I thought about cutting the baseboard off from behind the shelves and placing in front of the unit for a true built in look, but then I snapped out of the fantasy world where I'm an expert carpenter with precision saws, and I came back to reality.  It's a playroom/homework room.  In a few years when the kids are grownup, it may be something completely different and I don't want to have to replace a huge baseboard.  

Ok back to the plan....

Because the depth of the cubbies is 15-7/8", I chose these Ikea kitchen cabinets (at just a slightly less depth) to sit above them.  Based on the height of my wall and the length of the Expedit shelves, I chose the 36 (wide) x 30 (high) cabinets.  I planned to use 4 cabinets - two on the first level and two above that.

Boxes and boxes of shelving parts

 Constructing the cabinets

 Placing the cabinets on the wall

Cabinets complete with doors


Couldn't be happier with the look and the height in the room made it feel instantly bigger.  Now on to the tough part, the desks....


Other Playroom Posts